Blog
How To Assemble The Atlas Rig
If you’re on this post, you’re probably wondering how the heck do I put this thing together? Don’t worry, I took alot of photos assembling the Tackle Builders Atlas Rig. It’s not that hard. You can probably figure it out skimming through the photos but I’ll explain it below.
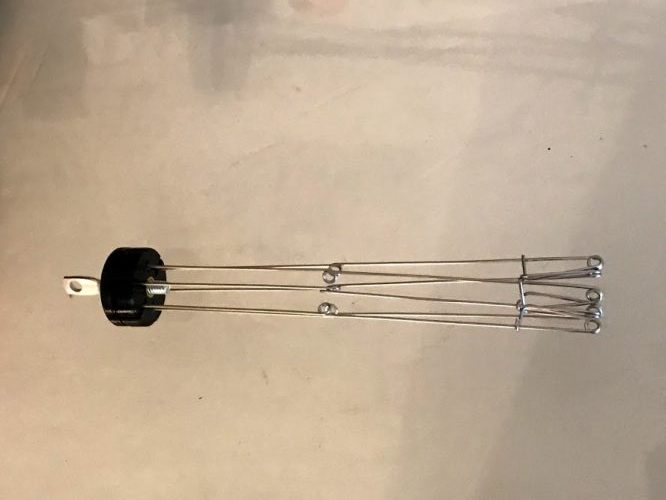
When you first pull out your rig from the packaging, it’ll be bare like the picture above.
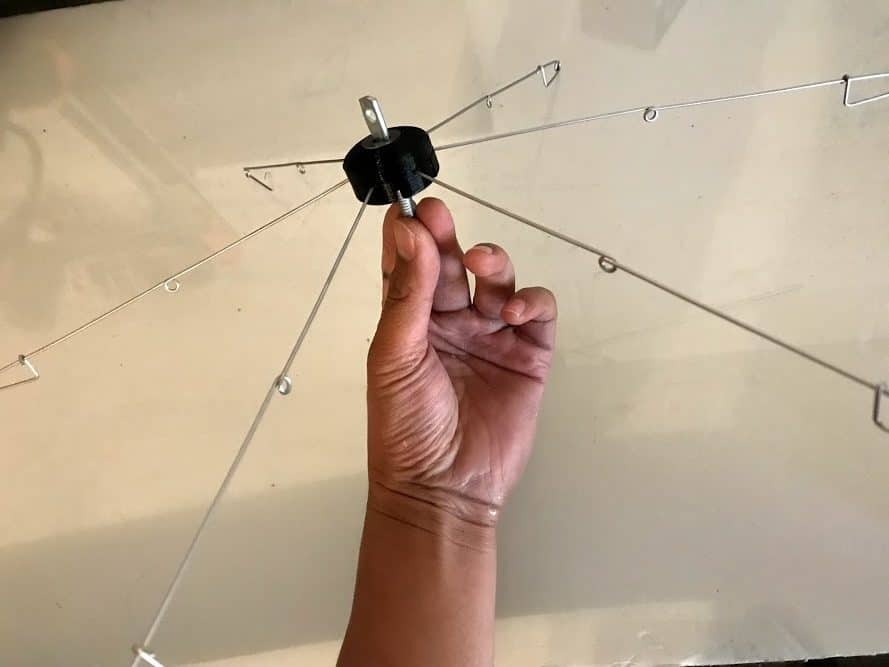
Open it up and spread the arms out.
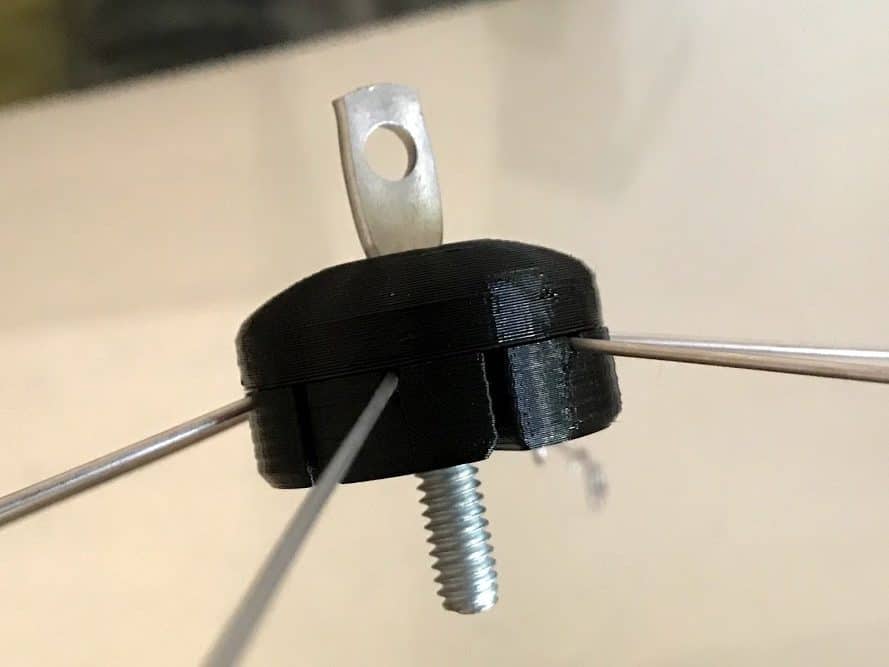
Make sure there’s some space between the bottom and top half when you initially open it. Twist the top half and align it with the small notches on the bottom half. Tighten down the bolt and your Atlas Rig should look similar to the image above.
Below you’ll find the ideal configuration for the teasers. The following steps will show you how to screw on the centering spring pins onto the stainless steel arms for the teasers.
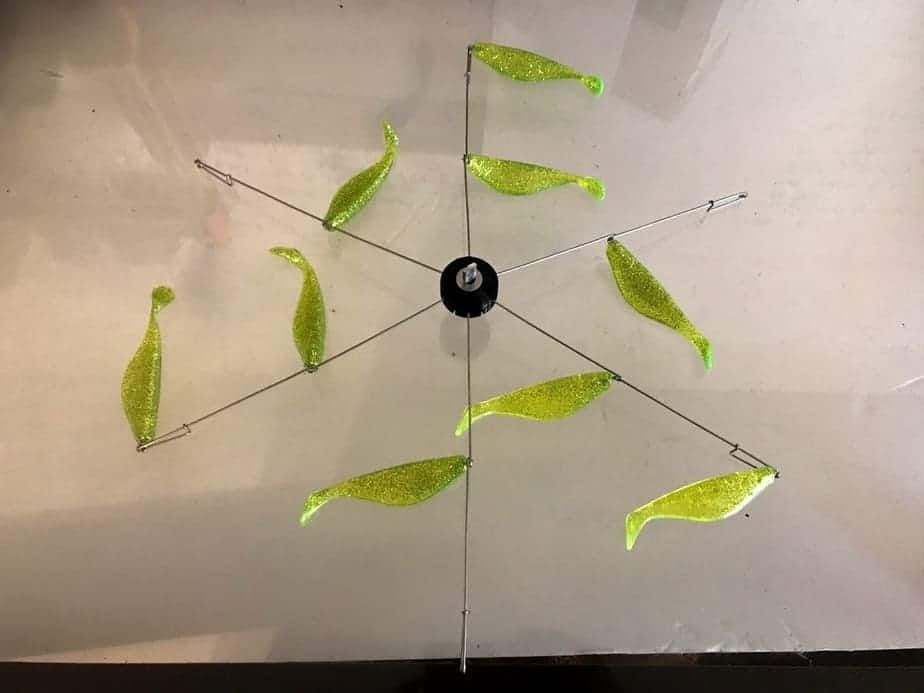
Find the centering spring pins inside the small ziplock bag in the packaging. Twist the centering pin spring into the eye of the stain less steel arms. For the outer eyes of the arm, skip every other eye. That’s where we will be tying on the lead line for the swimbaits. The pictures below will give you a better idea of what I’m talking about.
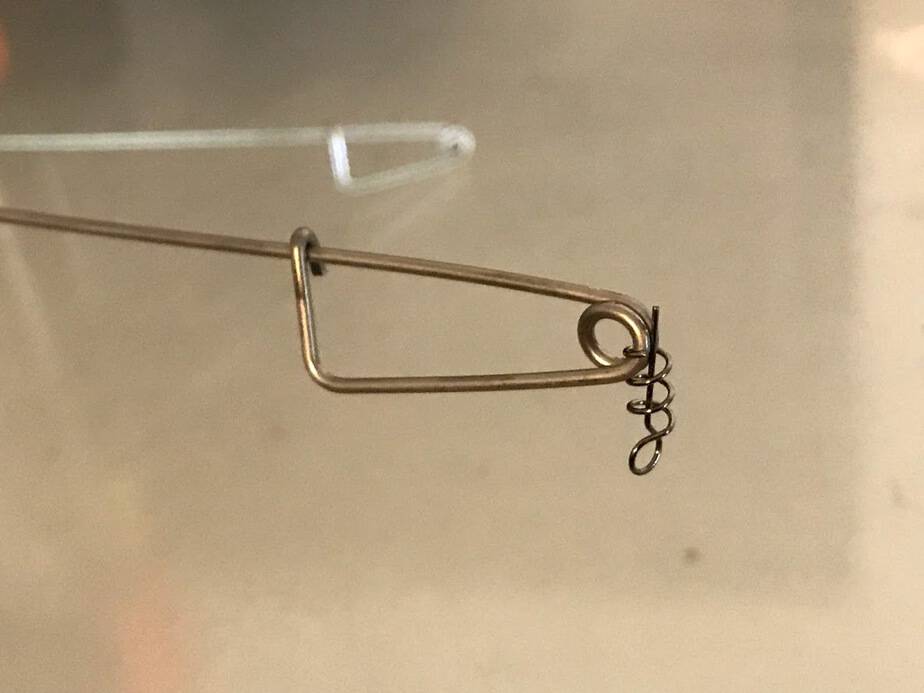
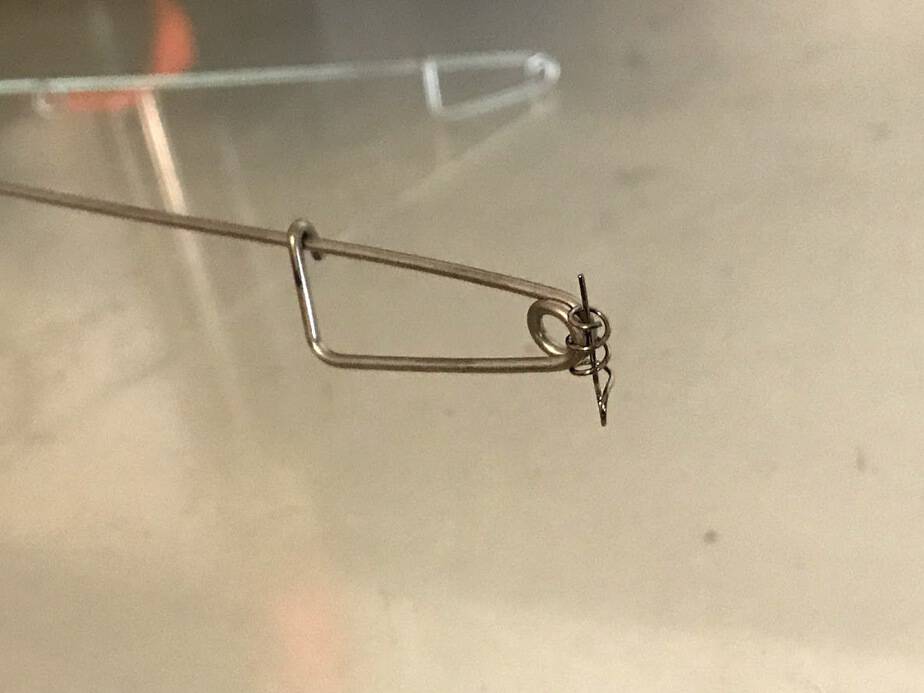
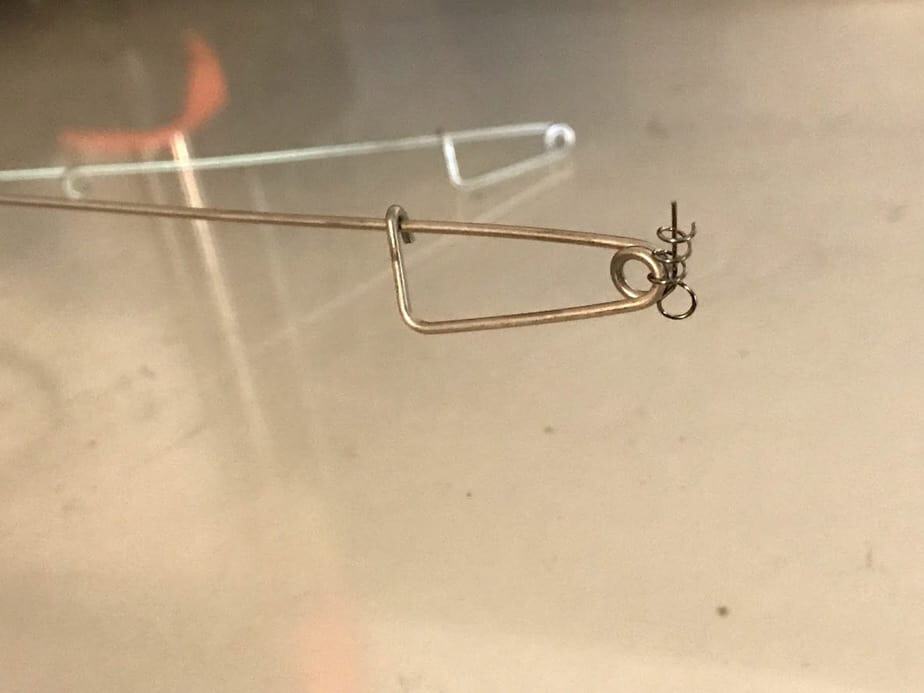
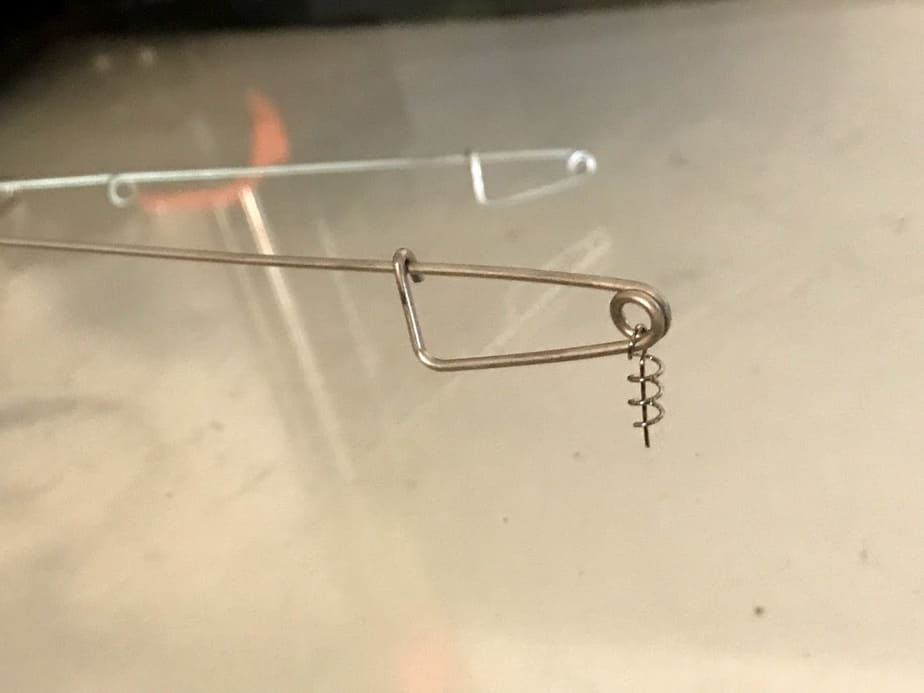
Do the same for the inner eyes of the stainless steel arms. Every inner eye of the stainless steel arms should have a centering spring pin screwed on.
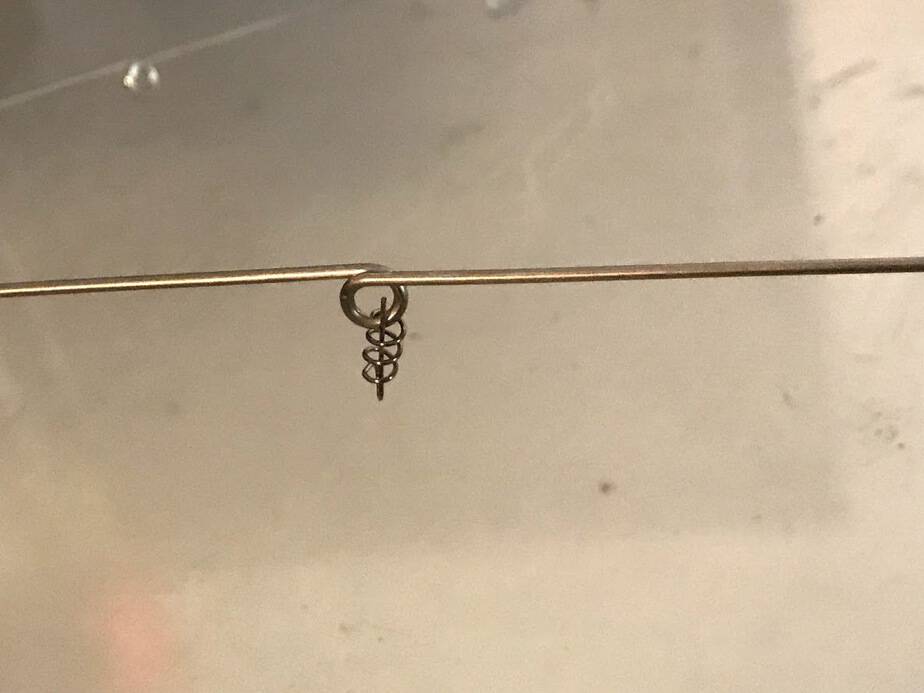
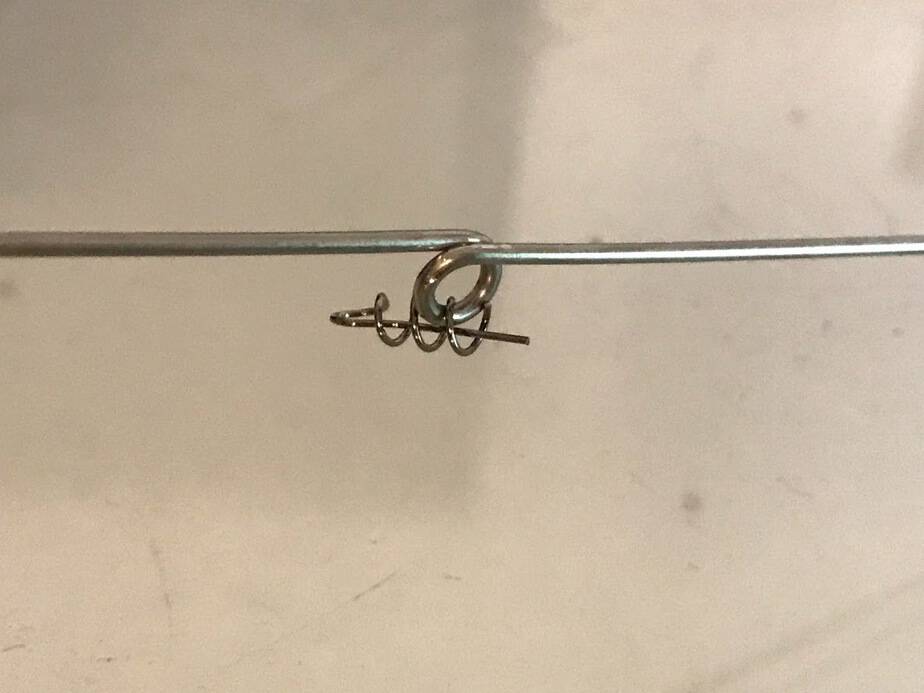
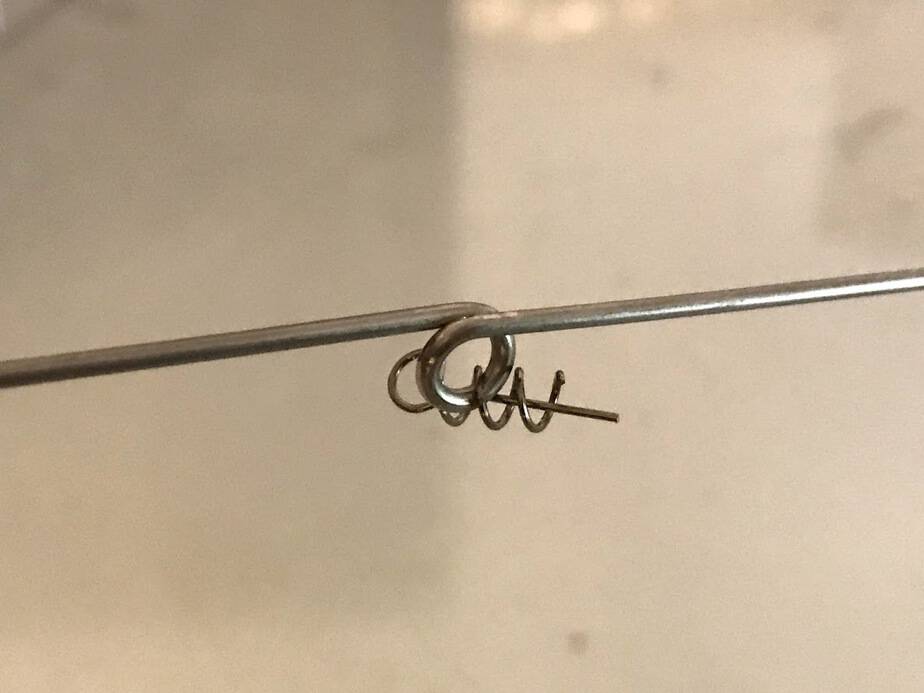
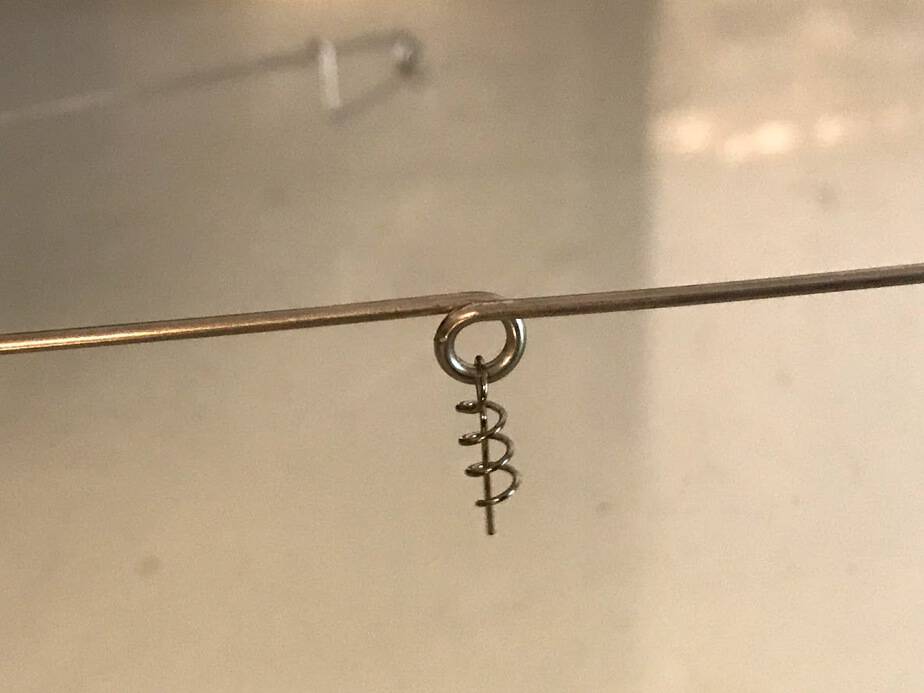
Now you’re ready to screw in the teasers. Twist the teasers in a clockwise rotation into each centering spring pin.
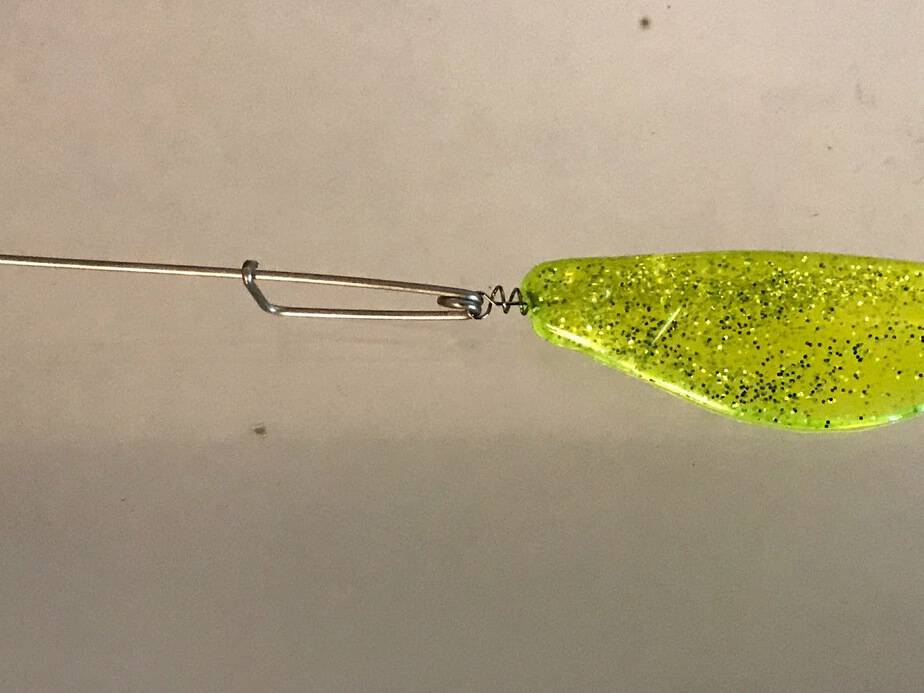
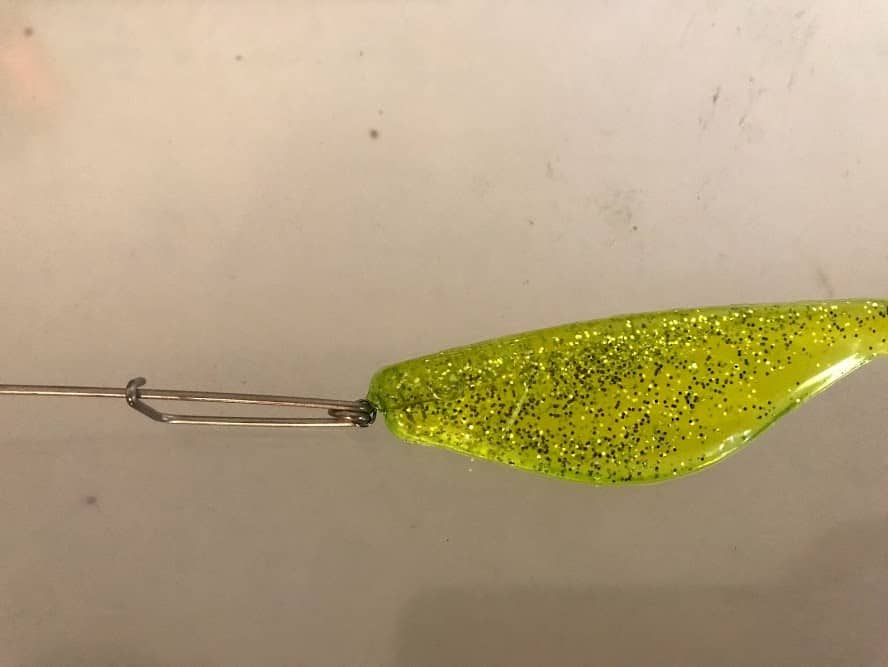
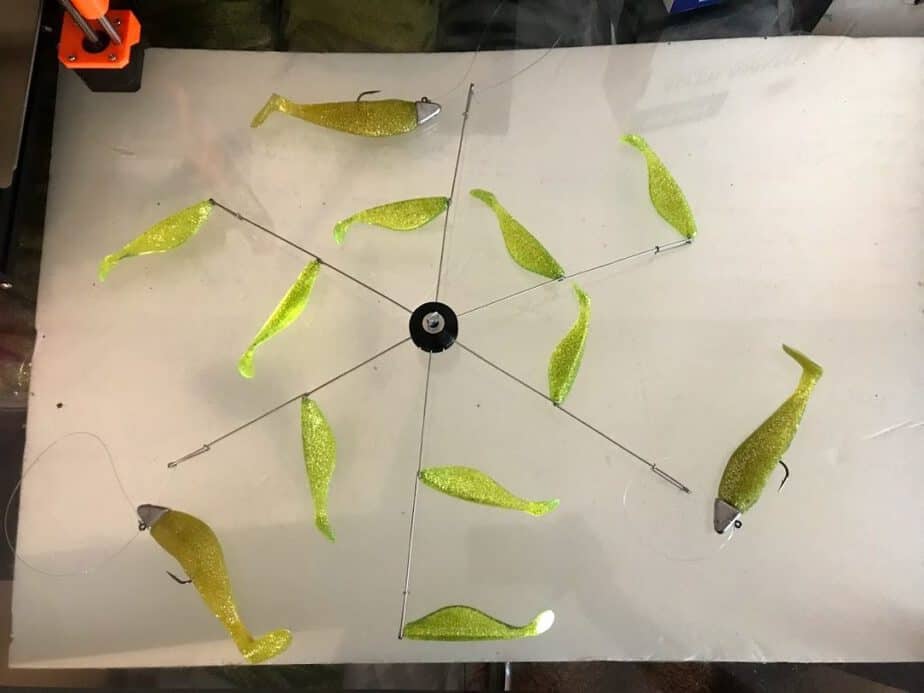
Your Atlas Rig should look similar to the image below at this point.

Next, you’ll want to tie on the lead lines at each location without the centering spring pins. Some say the lead lines are too short for tying but I’ve found that length to work best when using the improved clinch knot. A longer lead line will increase tangles between the swimbaits after hookup. Use the same knot and tie on your jigheads.
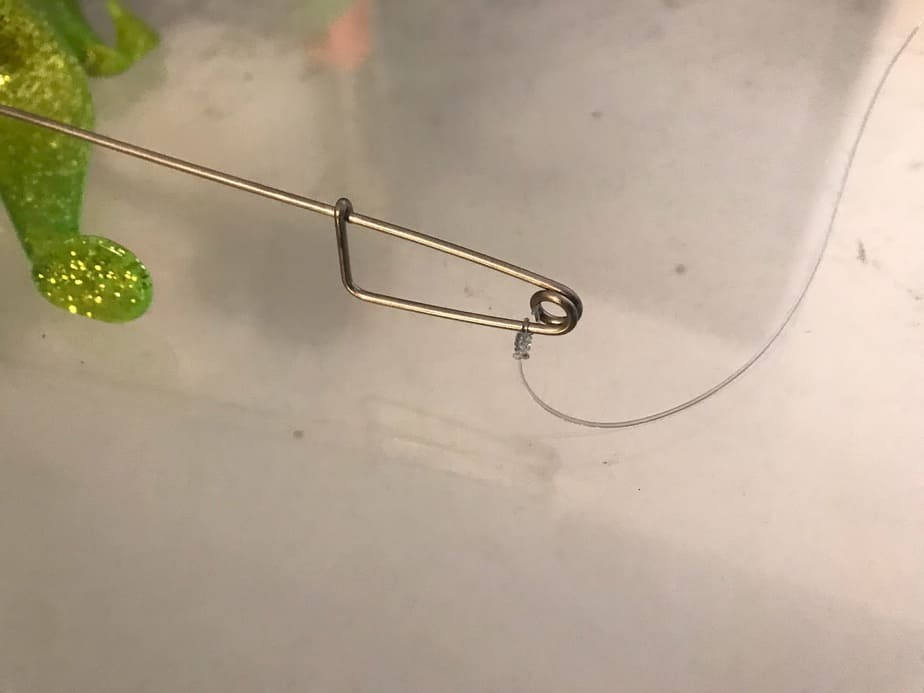
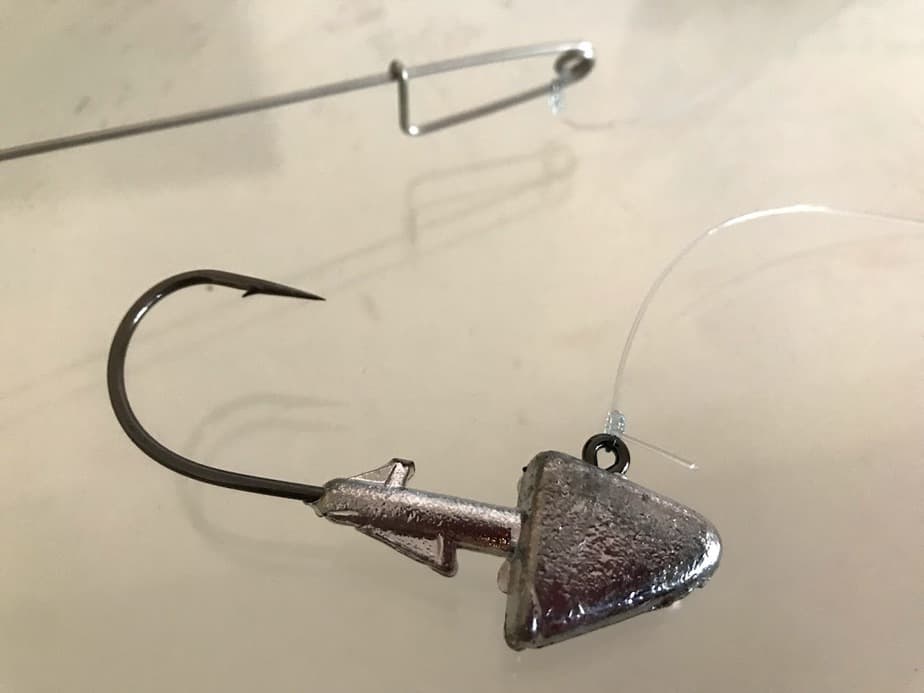
The best way to get your swimbaits on the jigheads properly is to run it through the top until the swimbait touches the lead portion of the jighead. Then hook it through the back. Do this for all three swimbaits.
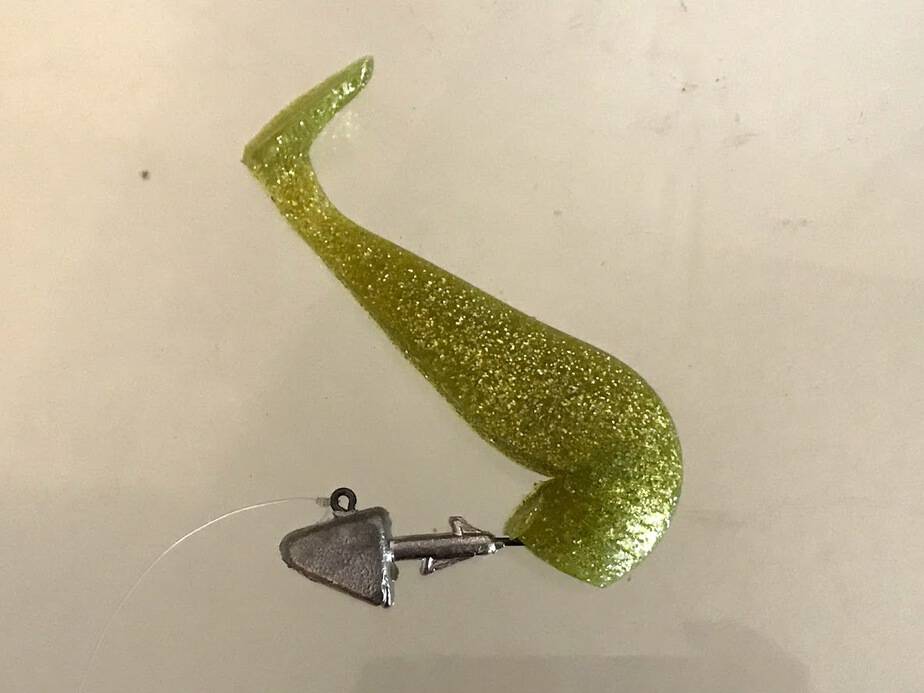
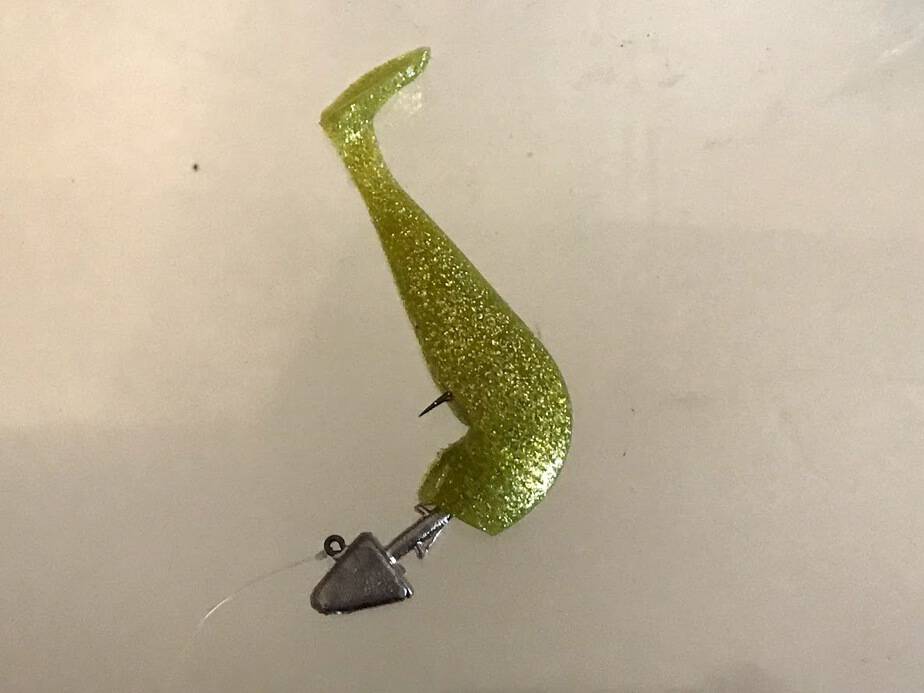
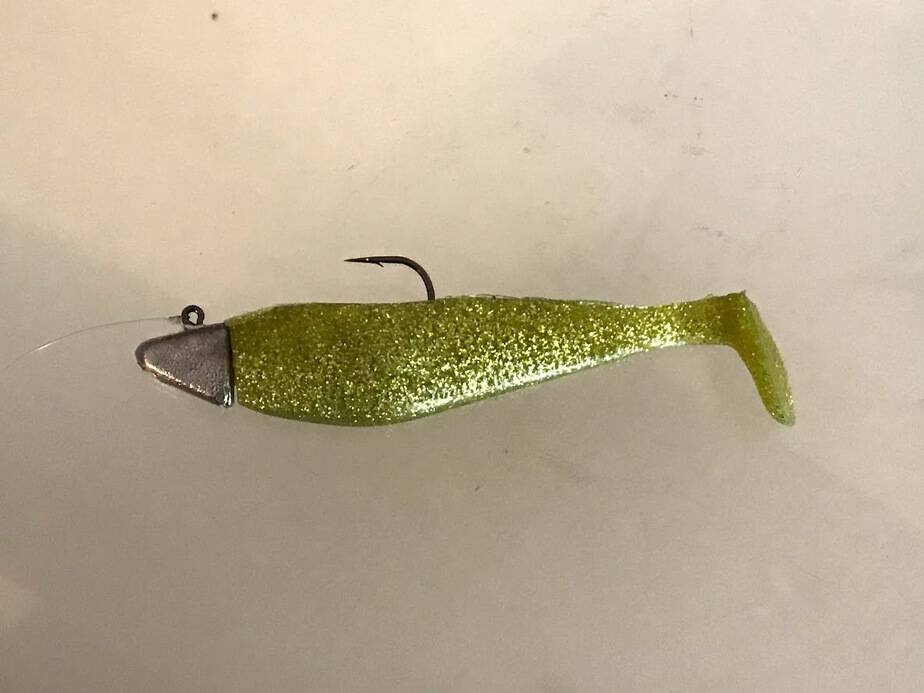
You’re pretty much done at this point. Below is how your Atlas Rig should look like when you’ve put everything together.
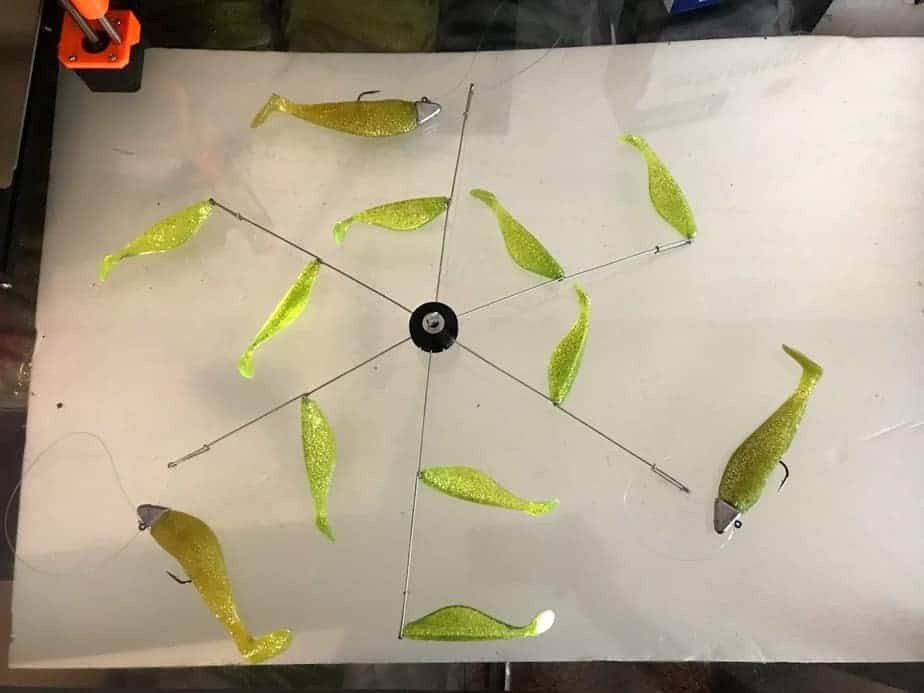
Now you’re ready for the water. Don’t forget to save the depth charts for the Atlas Rig.
Note: It is recommended you use a snap swivel to tie onto your Atlas Rig.

Just received in the Atlas Rig, it didn’t have any swivels. No big deal I can pick some up just wanted to let you guys know. Also, this is the first time I’ll be using your product is there an additional weight needed to get down or will the weight of the lure bring it down to chart depths?
The depth charts are for the Atlas Rig without any extra weights. So what came with the rig is what the depth is based off of. Good luck out there
I just recieved my Atlas Rig today and I have 2 of the spring wires that didn’t install correctly for some reason. Can I order or receive new ones ? Hoping to use the rig here soon. Hope to hear back soon.
Thank you,
Don
Sorry to hear that. I just replied to your email.
It doesn’t matter!
Can an atlas rig be used with down riggers?